
How to Replace the CVT Cover on a 150cc Scooter
Introduction
When it comes to maintaining your 150cc scooter, one essential aspect to consider is the CVT cover replacement. The CVT cover plays a crucial role in protecting the CVT components from heat and debris, ensuring optimal performance and longevity. In this guide, we will walk you through the process of replacing the CVT cover on your 150cc scooter.
Understanding the CVT Cover
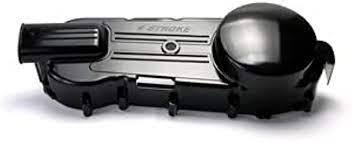
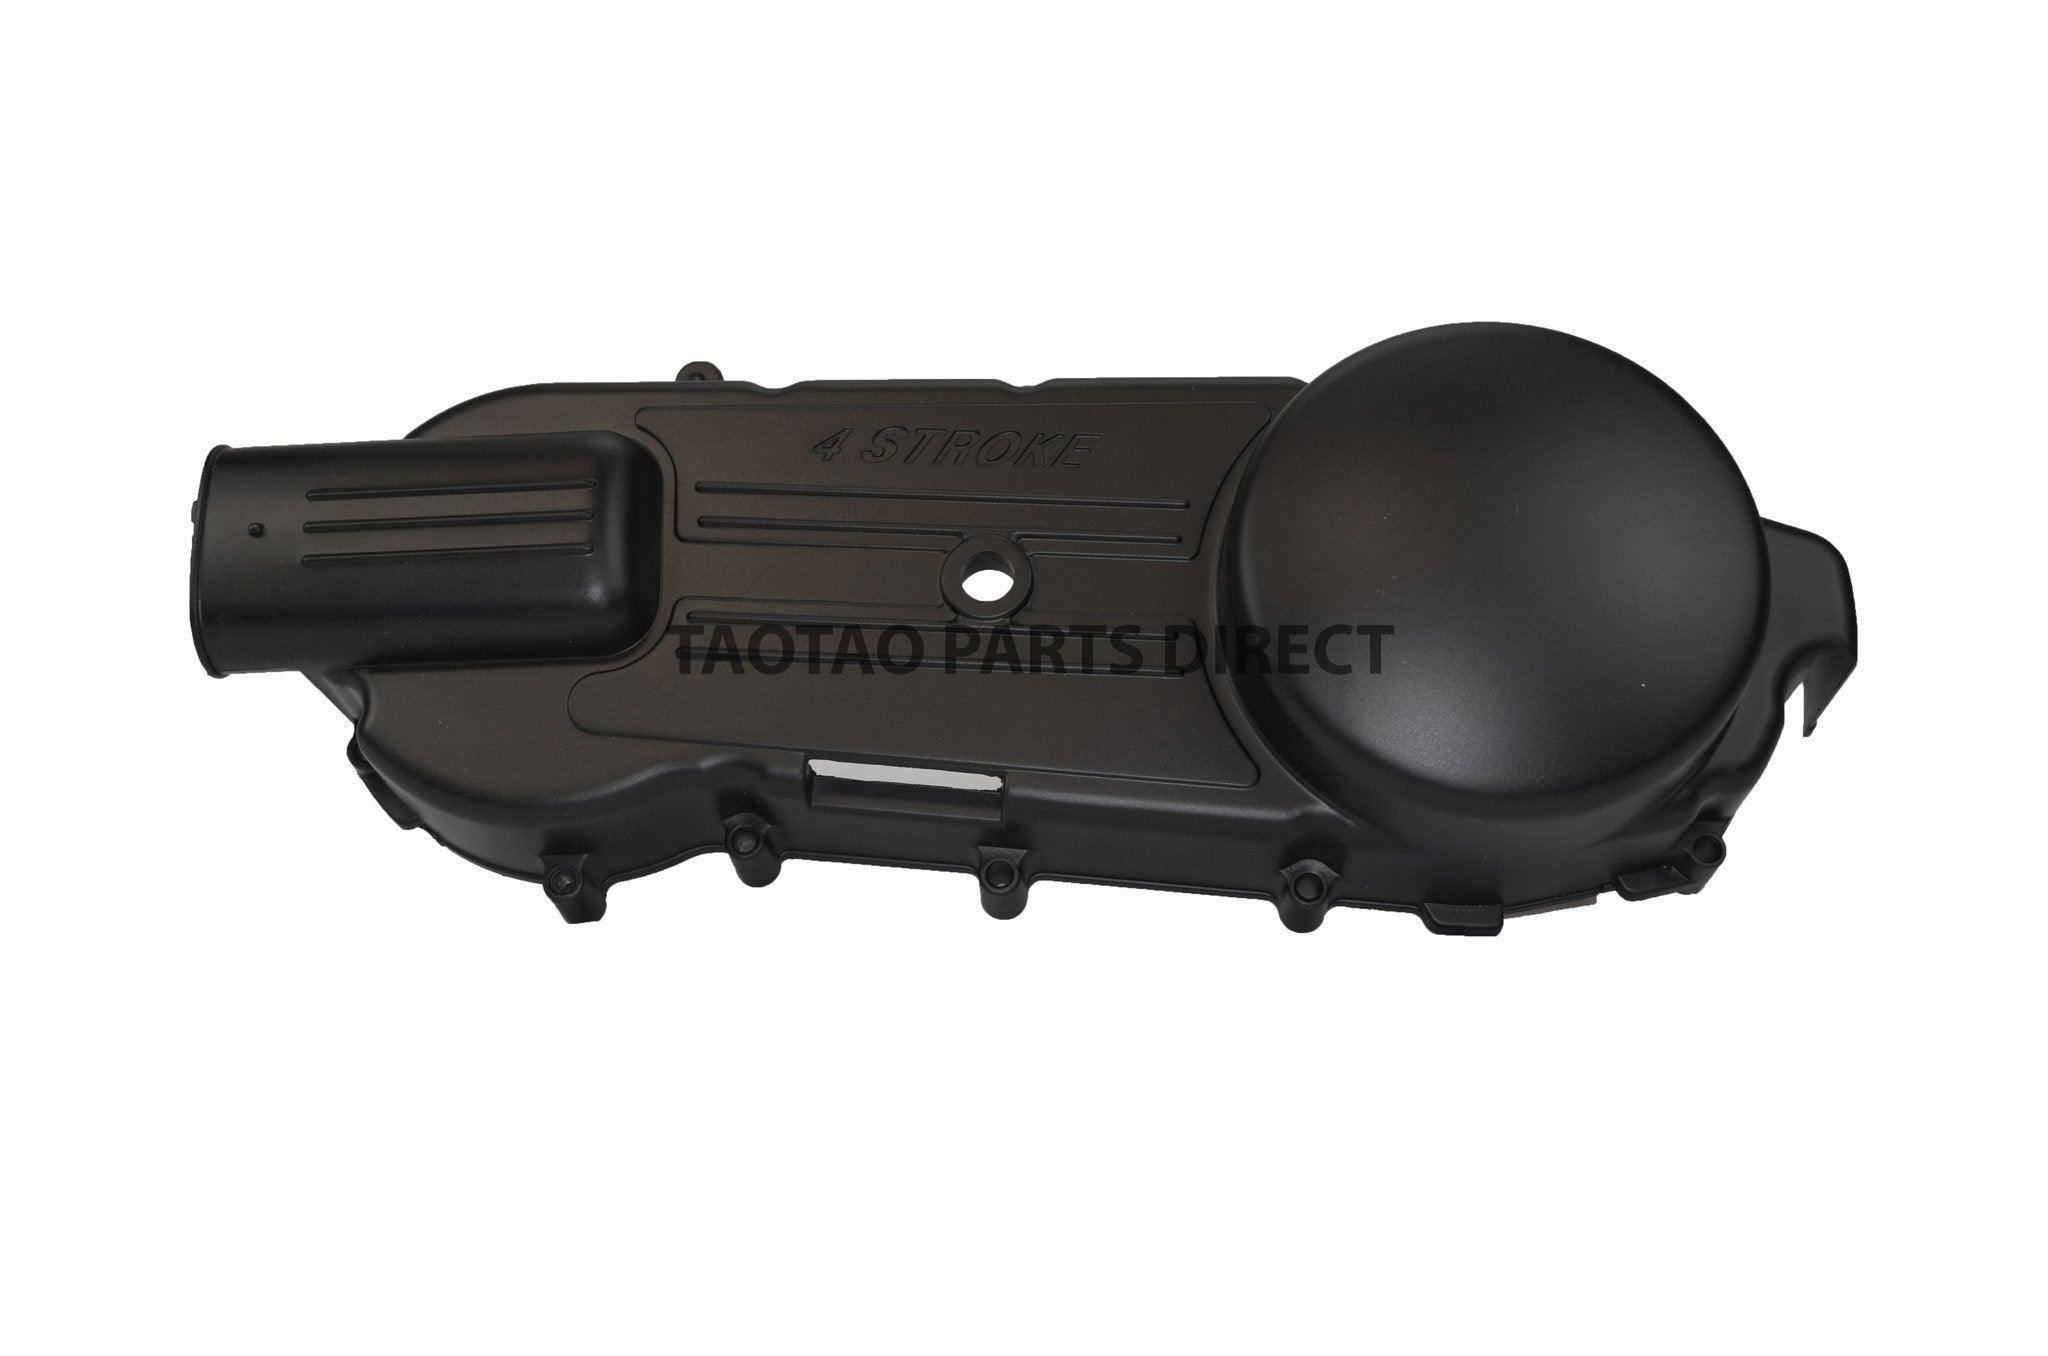
The CVT cover is a high-temperature cover designed specifically for 150cc scooters. It is compatible with 150cc GY6 Engines and is designed to fit Long cases. The cover effectively safeguards the CVT components from external elements, thereby prolonging their lifespan and ensuring the smooth operation of your scooter.
Why Replace the CVT Cover?
Over time, the CVT cover on your 150cc scooter may undergo wear and tear due to constant exposure to high temperatures and road debris. It's essential to replace the cover to maintain the integrity of the CVT components and prevent any potential damage that may occur if the cover is compromised.
Step-by-Step Guide to CVT Cover Replacement
Here's a detailed step-by-step process to help you replace the CVT cover on your 150cc scooter:
- Tools and Preparation: Before you begin, ensure that you have the necessary tools such as wrenches and screwdrivers. Park your scooter on a flat surface and let the engine cool down.
- Locate the CVT Cover: The CVT cover is typically located on the side of the scooter's engine. Consult your scooter's manual if you are unsure about its exact location.
- Remove the Old Cover: Use the appropriate tools to carefully remove the screws or bolts securing the old CVT cover in place. Once the fasteners are removed, gently detach the old cover from the engine.
- Clean and Inspect: Before installing the new cover, take this opportunity to clean the area and inspect the CVT components for any signs of wear or damage.
- Install the New Cover: Carefully position the new CVT cover over the CVT components and secure it in place using the screws or bolts. Ensure that the cover is fitted snugly to prevent any debris from entering the CVT housing.
- Test the Scooter: Start the scooter and let it idle for a few minutes to ensure that the new cover is properly installed and the CVT system is functioning smoothly.
Choosing the Right CVT Cover
When selecting a replacement CVT cover for your scooter, it's crucial to ensure compatibility with your scooter's make and model. Additionally, opt for covers that are constructed from durable materials to withstand the rigors of regular scooter operation.
Importance of Regular Maintenance
Regular maintenance of your 150cc scooter is paramount to ensure its longevity and performance. The CVT cover replacement is just one aspect of maintaining your scooter's critical components.
Ensuring that all the parts are in optimal condition contributes to a safer and more enjoyable riding experience. Apart from the CVT cover, regularly check and maintain the engine, brakes, and tires to keep your scooter in top shape.
Final Thoughts
Replacing the CVT cover on your 150cc scooter is a fundamental maintenance task that can contribute to the longevity and performance of your scooter. By following the outlined steps and selecting a high-quality replacement cover, you can ensure that your scooter's CVT system remains well-protected and operational for many rides to come.