
Replacing the Headlight Assembly on an RPS Hawk 250 Motorcycle
Embark on a DIY Headlight Assembly Replacement Journey
As a dedicated motorcycle enthusiast, taking care of your RPS Hawk 250 is a top priority. When it comes to ensuring optimal visibility during your rides, having a functional headlight assembly is non-negotiable. If you're ready to dive into the world of DIY maintenance, replacing the headlight assembly on your Hawk 250 can be a rewarding experience.
Unveiling the Hawk250 Headlight Assembly: A Closer Look
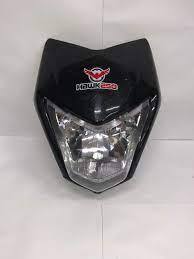
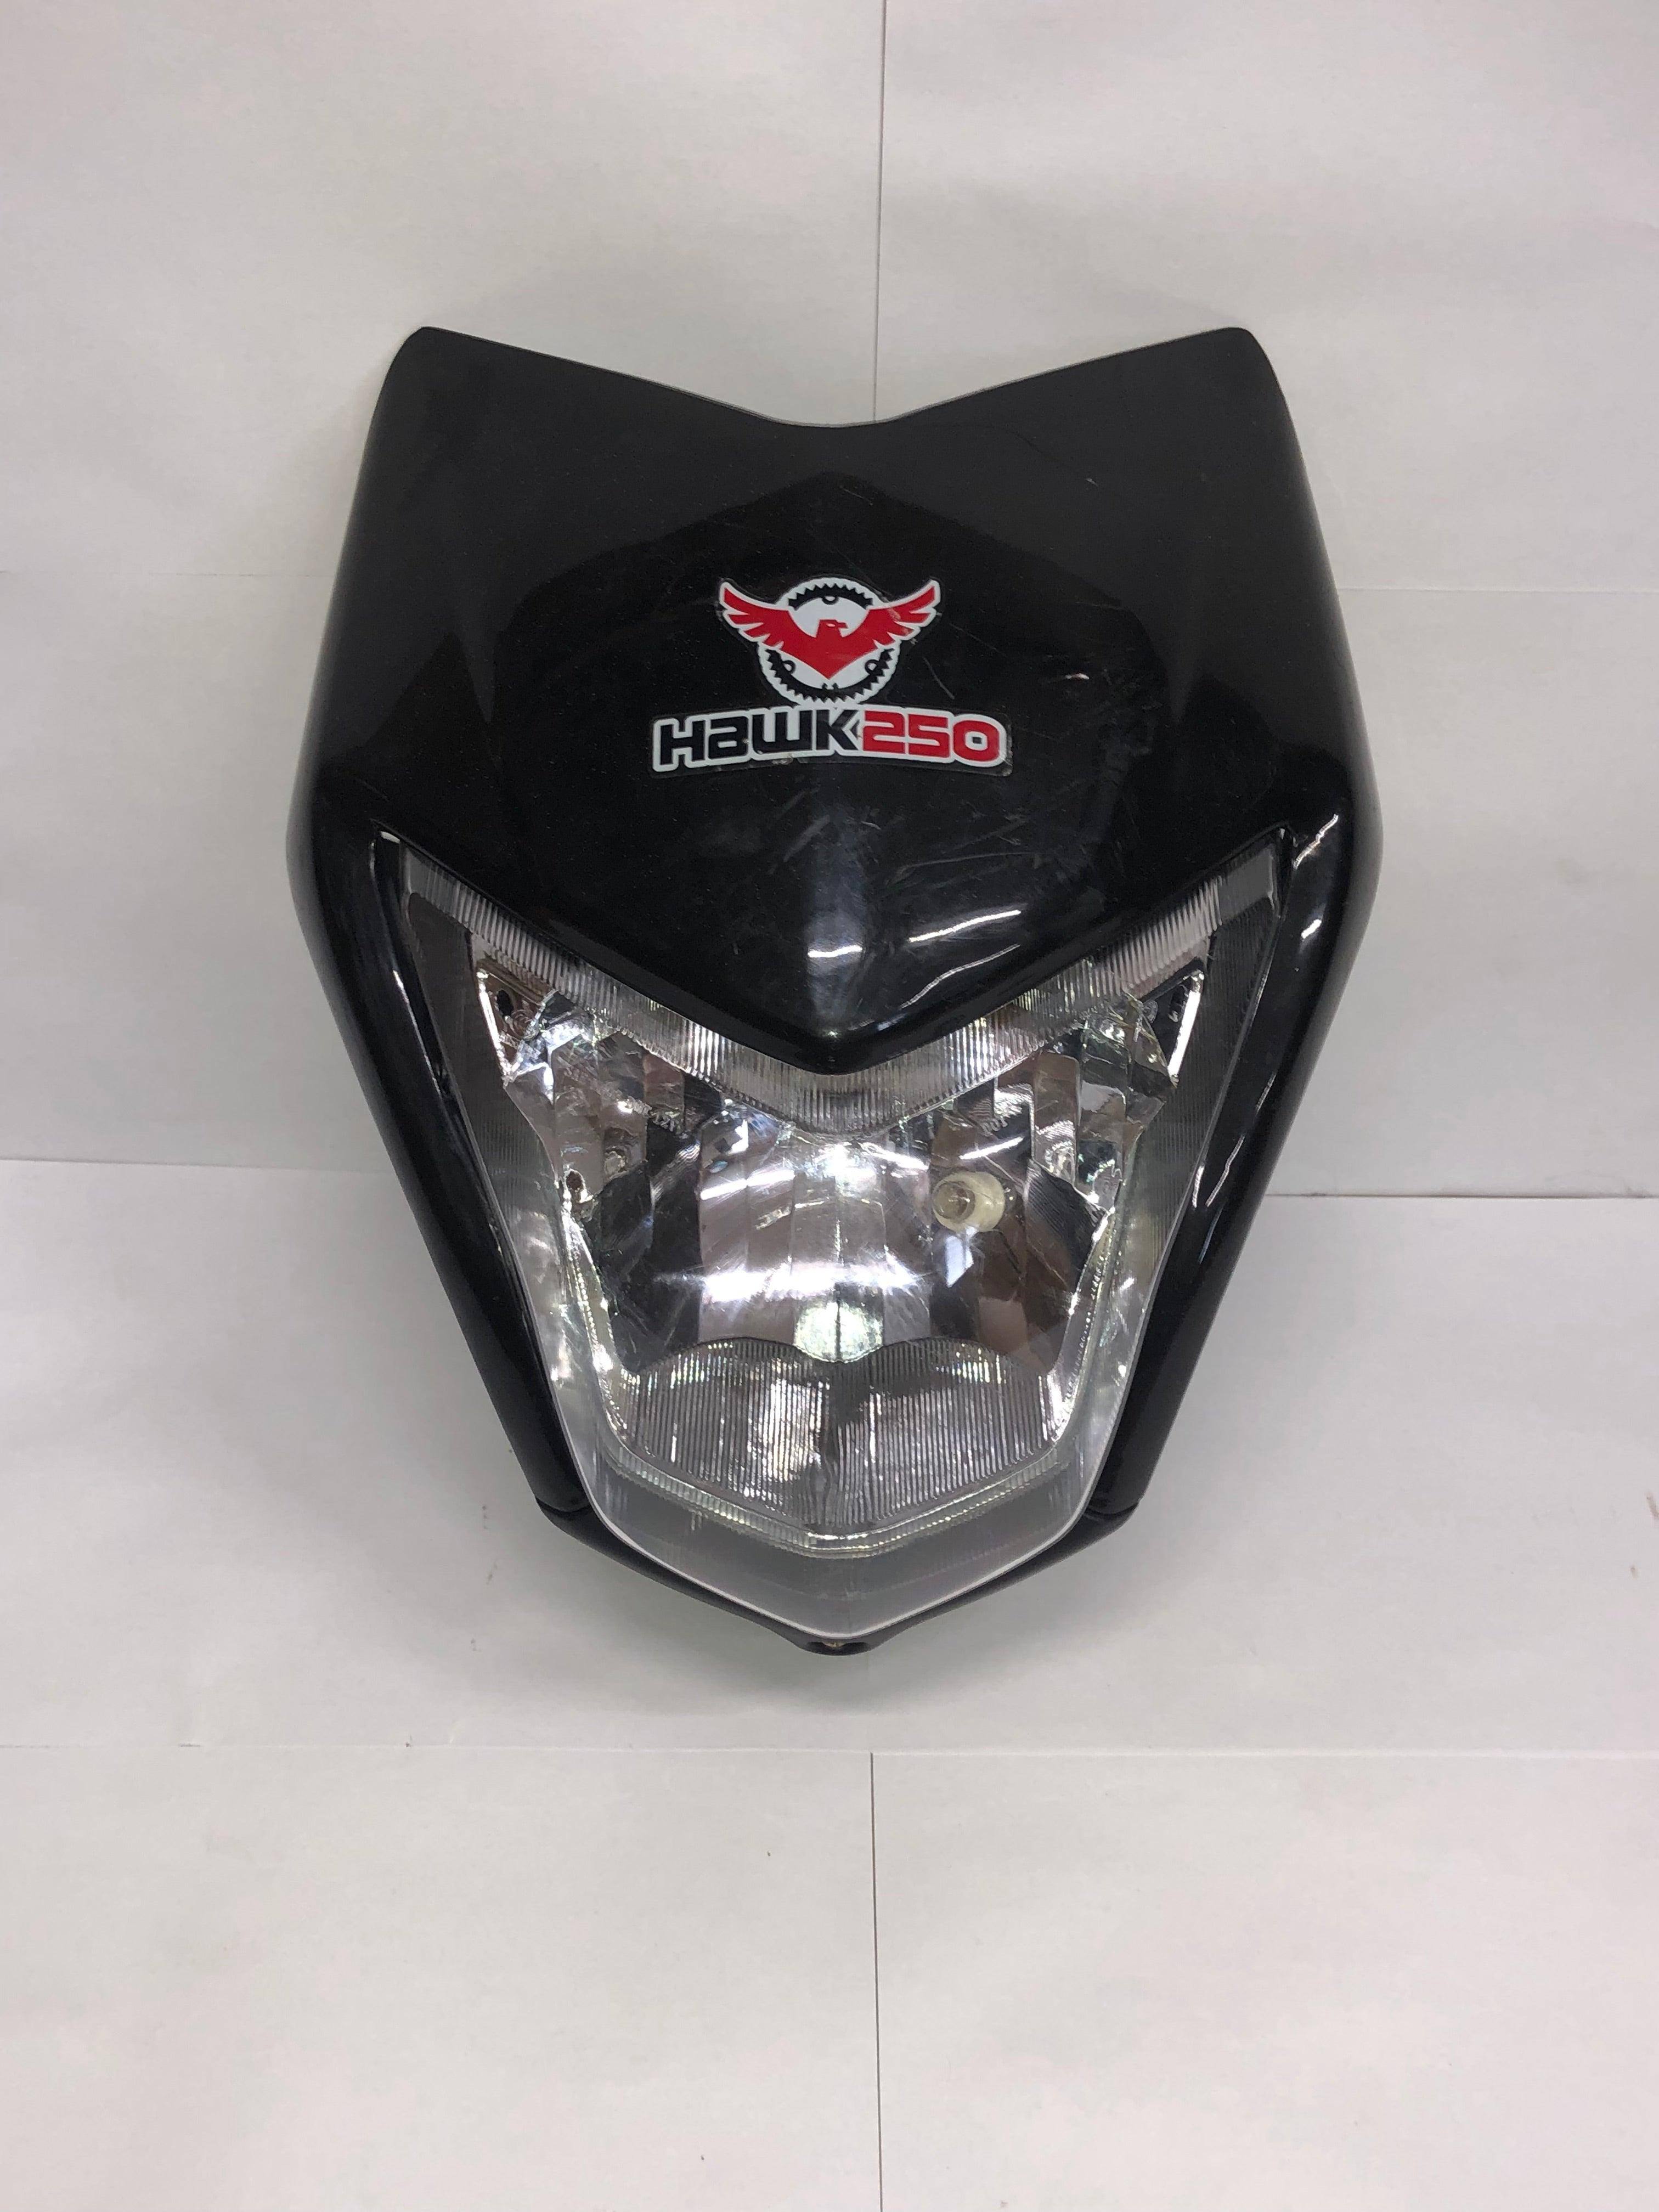
Meet the RPS Hawk 250 motorcycle Headlight Assembly – the ultimate solution for your 250cc Hawk Enduro's illumination needs. Crafted with precision and quality in mind, this headlight assembly features a single 3-pin connector, 2 bullet connectors, and a design that perfectly complements the aesthetics of your Hawk 250 Motorcycle.
With the Hawk250 Headlight Assembly in hand, you can elevate both the functionality and style of your ride. Say goodbye to dim or flickering lights and embrace a brighter, more reliable lighting solution for your adventures on the road.
Your Comprehensive Guide to Flawless Replacement
Ready to swap out your old headlight assembly for the new Hawk250 Headlight Assembly? Let's break down the replacement process into detailed steps to ensure a seamless installation:
- Start by preparing your workspace and gathering the necessary tools, including a screwdriver, wrench, and any additional equipment needed for the task.
- Turn off your motorcycle's engine and disconnect the battery to prevent any electrical mishaps during the replacement process.
- Locate the mounting points of the existing headlight assembly and carefully remove any covers or components obstructing access to the assembly.
- Detach the wiring connectors from the current headlight assembly by pressing the release tabs and gently pulling the connectors apart.
- Using the appropriate tools, loosen and remove the screws or bolts securing the assembly in place. Keep track of these fasteners for reassembly later on.
- Slide out the old headlight assembly from its housing, taking care not to damage the surrounding parts of your motorcycle.
- Position the new Hawk250 Headlight Assembly in the empty housing, ensuring proper alignment with the mounting points.
- Secure the assembly by reattaching the screws or bolts and tightening them to the specified torque. Double-check the alignment and stability of the assembly.
- Connect the wiring harness of the new headlight assembly to the corresponding connectors, making sure to match the pins correctly for a solid connection.
- Perform a quick functionality test by turning on the motorcycle's ignition and checking if the headlight illuminates as expected. Make any necessary adjustments to the alignment of the assembly.
- Once satisfied with the installation and functionality of your new headlight assembly, reassemble any covers or components that were removed earlier.
- Reconnect the battery, start your Hawk 250 Motorcycle, and bask in the brilliance of your upgraded lighting system.
- Take your bike for a test ride to ensure that the headlight assembly performs optimally under different road conditions.
By successfully replacing the headlight assembly on your RPS Hawk 250 with the premium Hawk250 Headlight Assembly, you are not just enhancing the aesthetics of your motorcycle but also prioritizing your safety and visibility on the road. Embrace the DIY spirit and empower yourself with the knowledge and skills to conquer motorcycle maintenance tasks with confidence.